Safe Exercises and Stretches for Herniated Disc Pain Relief
June 3, 2026In spinal health, there’s a critical window, a short period after a disc herniates, where the right movements can directly influence how well and how fast you recover. Move the wrong way during this phase, especially into repeated forward bending (flexion), and you may worsen the tear. Move in the right direction into controlled extension, and you create a mechanical shift that helps guide the disc back to position.
A herniated disc isn’t something that slips out of place. It’s the result of pressure building unevenly inside a gel-like disc. When that pressure pushes outward, it can irritate nearby nerves, often causing lower back pain or symptoms like sciatica.
Using extension-based movements, you can create what’s described as a vacuum-like effect, a mechanical change in pressure inside the disc, encouraging the disc material to move away from the nerve and back toward the center. This process, known as centralization, is key to reducing nerve pain at its source.
This blog is built around that principle. Whether you’re in the early stage of a disc injury or dealing with ongoing discomfort, these exercises for a herniated disc are designed to help you use that critical window effectively, closing the gap between pain and normal movement.
Safe At-Home Exercises for Herniated Disc Recovery
Phase 1: Decompression & Pressure Relief
Spinal Decompression (Hanging)
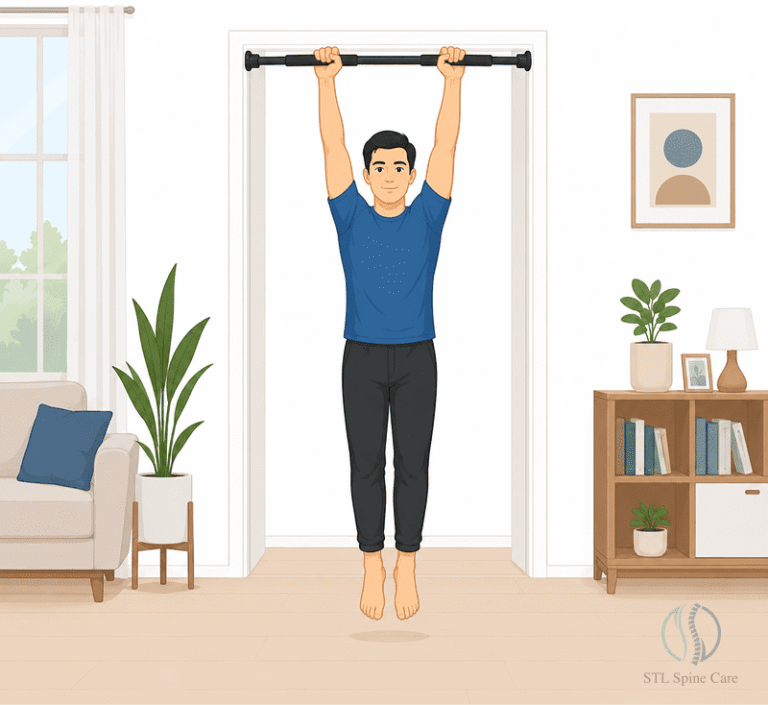
When a disc is under constant load, it has no space to reset. This stretch directly reduces that pressure by using gravity in your favor. Instead of compressing the spine (like sitting does), hanging creates separation between the vertebrae.
That separation reduces nerve irritation and gives the disc a chance to breathe again. You should feel a gentle release through the lower back, not sharp pain. This is your reset before moving into corrective work.
How to do it properly:
- Grip a pull-up bar or any stable overhead support
- Let your body hang freely without tension
- Keep your shoulders relaxed, not shrugged
- Slightly bend your knees if full hanging feels intense
- Hold for 20–30 seconds, rest briefly, repeat for 3 rounds
Phase 2: Directional Correction (Extension Work)
Standing Extension
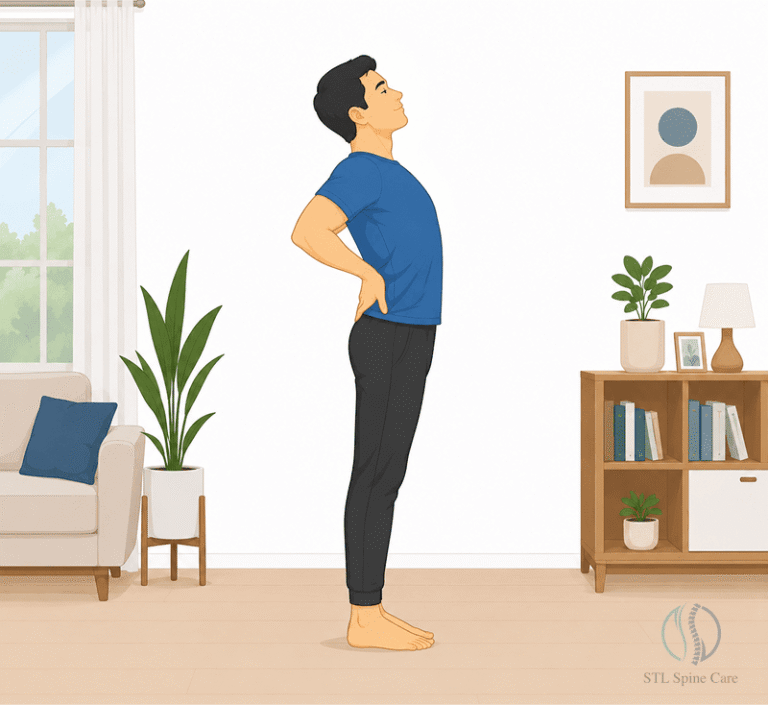
Most disc issues are caused by too much forward bending. This movement does the opposite; it restores backward motion and redistributes pressure inside the disc.
Instead of stretching muscles, this is about retraining direction. You’re guiding the disc away from the nerve by reversing the posture you spend most of your day in. If symptoms reduce or move upward (leg → back), you’re doing it right.
Step-by-step flow:
Stand tall → support your lower back with your hands → slowly push your hips forward → let your upper body lean back → return to neutral
- 10 controlled repetitions, with 2–3 sets throughout the day
Half Cobra (Focus on Elbows)
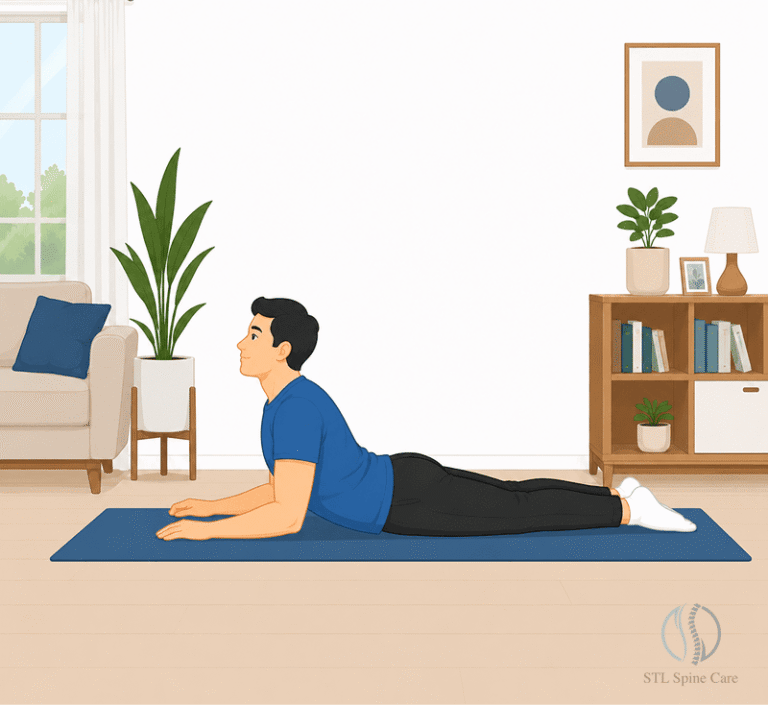
This is where you begin applying sustained extension without force. It’s a low-load position that introduces pressure in the right direction while allowing the spine to adapt gradually.
The goal here is not intensity, it’s tolerance and direction. You’re gently wedging the spine into extension, encouraging the disc material to shift away from irritated nerves.
How to do it properly:
- Lie face down
- Place elbows directly under shoulders
- Let your hips sink fully into the floor
- Keep your lower body completely relaxed
- Stay in position for 10–30 seconds
- Repeat up to 10 times, depending on comfort
Full Cobra (Press-Up Progression)
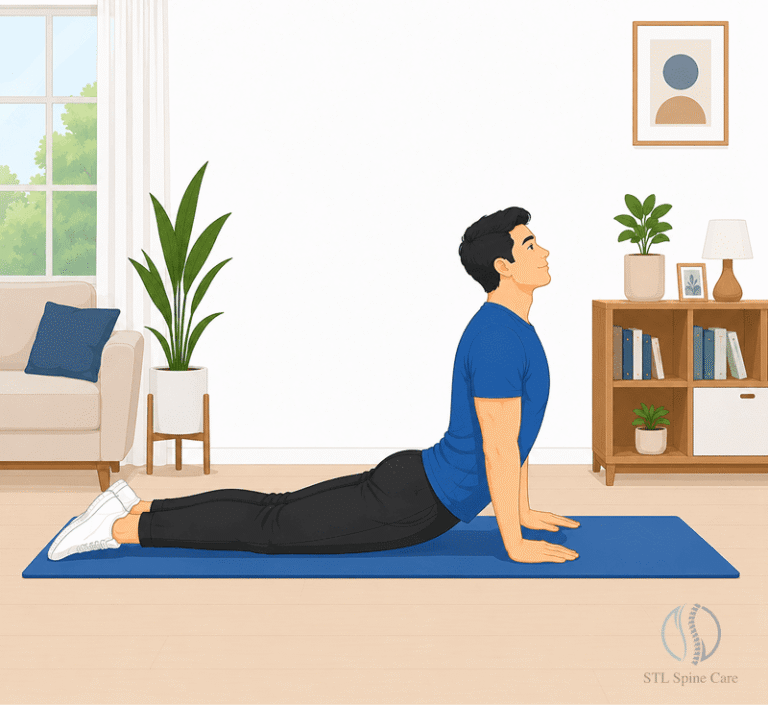
Once your body accepts the previous position, this movement increases the corrective force. It’s one of the most effective ways to influence disc mechanics because it uses body weight to create internal pressure change.
And remember that your arms do the work, your lower back stays passive. This prevents unnecessary strain while still achieving the pressure shift.
How to do it properly:
- Hands under shoulders like a push-up
- Press your upper body upward
- Keep hips, thighs, and legs fully relaxed on the ground
- Only lift as far as your comfort allows
- 10 slow, controlled reps
- Pause briefly at the top of each movement
Phase 3: Mobility Reset
Cat-Cow
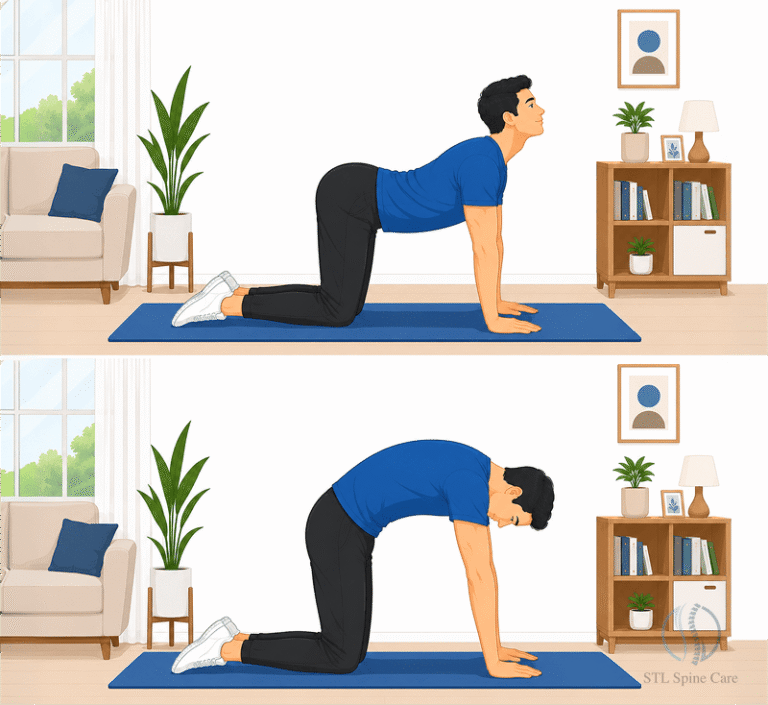
After correcting pressure, your spine needs to relearn movement. Pain often causes the spine to move as one stiff unit. This drill restores segment-by-segment motion. Avoid rushing. The slower the movement, the more each spinal segment is involved.
How to do it properly:
- Inhale → drop your belly, lift chest and tailbone
- Exhale → round your spine, tuck your chin inward
- Move slowly, matching breath to motion
- 10–12 smooth repetitions
- 2–3 rounds
Phase 4: Stability & Protection
Bird Dog
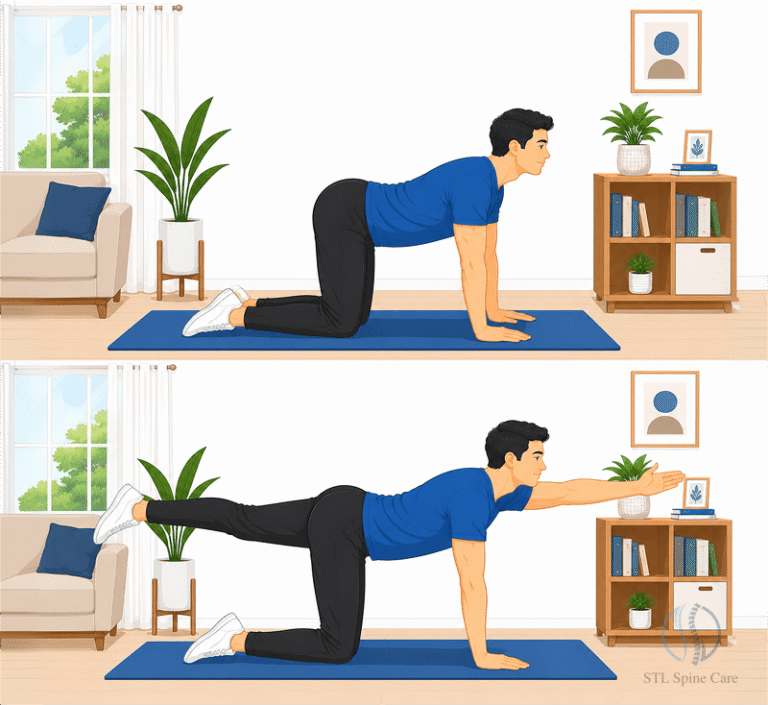
Once pain reduces, stability becomes the priority. Without it, the same faulty pressure patterns return. This exercise trains your body to keep the spine stable while your limbs move, exactly how real-life movement works.
How to do it properly:
- Start on hands and knees
- Extend one arm forward and the opposite leg back
- Keep your spine completely neutral (no arching or dipping)
Hold + switch format:
- Hold each side for 5 seconds
- Alternate sides for 10 repetitions
Plank
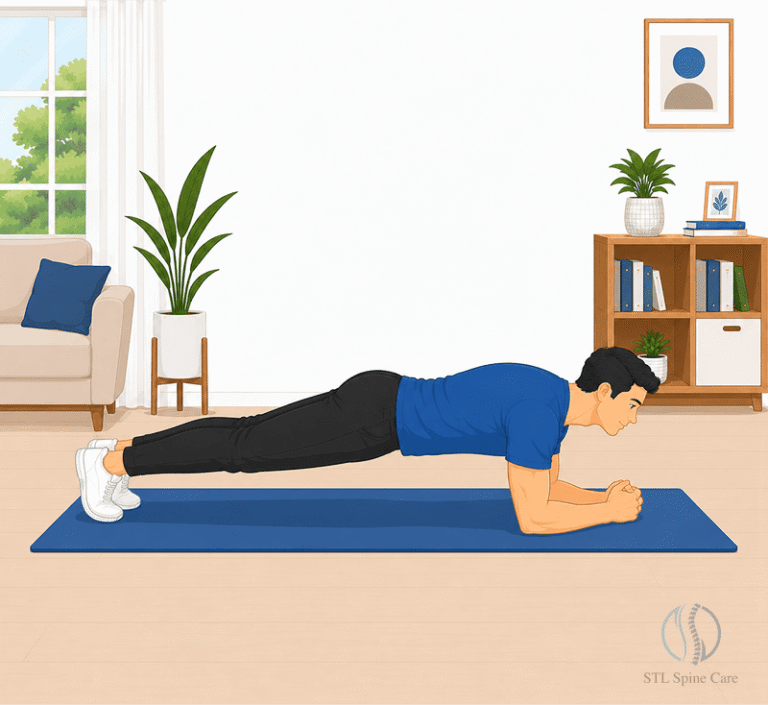
This is where you build long-term protection. A strong core reduces how much load reaches the disc during daily activity. Instead of isolating muscles, the plank trains your entire core system to work together. If your hips drop or your back arches, reset. Quality matters more than duration.
Set yourself up:
- Forearms on the floor
- Elbows under shoulders
- Body in a straight line from head to heels
- 20–30 seconds per hold
- 2–5 rounds
Stretches That Make a Herniated Disc Worse
A herniated disc is sensitive to direction. The wrong movement pattern can undo progress quickly. Avoid anything that pushes the spine into repeated forward bending or increases leg symptoms. If a movement spreads pain outward, it’s a clear signal to stop and adjust.
That includes:
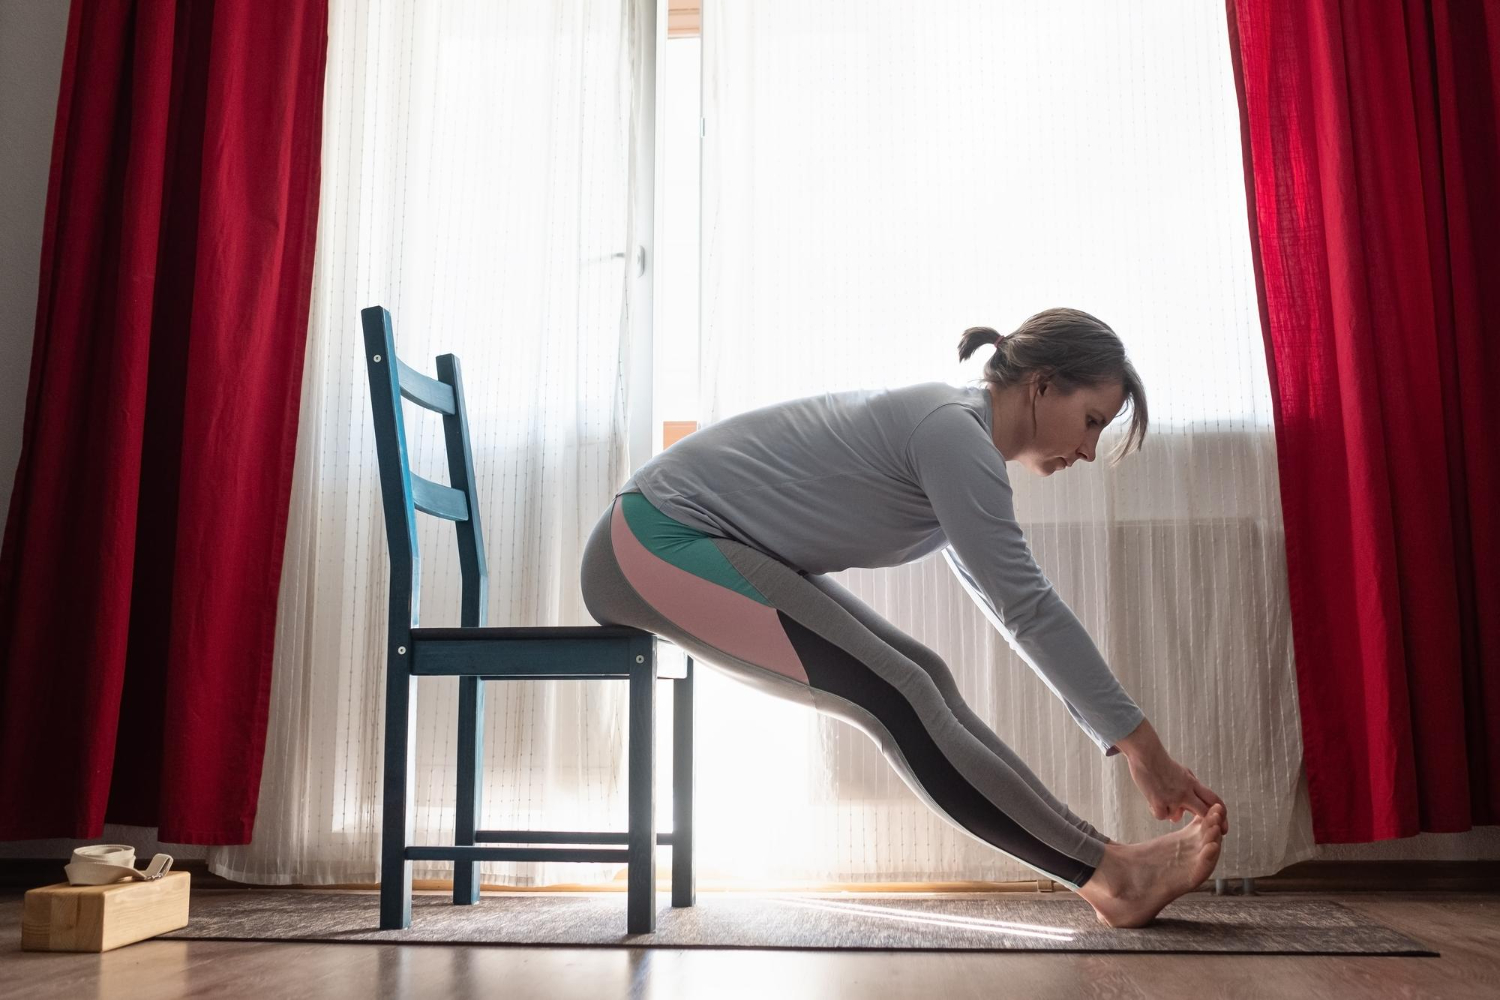
- Toe touches or deep forward folds
- Crunches and sit-ups
- Any movement that sends pain further down the leg
Conclusion
A herniated disc doesn’t heal by doing more; it heals with better movement. What you do each day either adds pressure in the wrong direction or helps guide it back to where it belongs. That’s why these exercises matter. They’re not random exercises; they’re small, deliberate stretches for herniated disc pain relief.
As you go through them, pay attention to how your body responds. When the pain starts to pull back from your leg and settle closer to your lower back, that’s your sign that things are moving in the right direction. It may not feel dramatic, but that shift is where real recovery begins.
This is the same principle followed at STL Spine Care, focusing on how the spine moves and responds, not just where it hurts. Stay consistent, move with control, and give your body the right conditions to heal.
Frequently Asked Questions
Should you stretch or rest with a herniated disc?
Complete rest is not recommended for long periods. Gentle, targeted movements are usually more effective. The key is to avoid movements that worsen pain and focus on exercises that help centralize it.
Are core exercises safe for a herniated disc?
Yes, but only certain types. Exercises like bird dog and planks are safe because they stabilize the spine without adding pressure. Avoid movements like crunches that involve bending forward.
When should you see a specialist for herniated disc pain?
If your pain is severe, not improving, or continues to travel down your leg despite doing the right exercises, it’s best to get professional guidance. Reach out to STL Spine Care and focus on identifying the right approach for your specific condition.
Which exercise helps a herniated disc the fastest?
Press-ups (cobra progression) are often the most effective because they directly shift disc pressure away from the nerve.
How do you know if you're still in the critical window for recovery?
If your symptoms recently started or are changing with movement, your body is still highly responsive; this is when the right exercises have the most impact.